Powerdot
Powerdot is a powerful presentation class for LaTeX. It provides several features that make easier for the presenter to create professional-looking slides in a short amount of time. This article explains how to use powerdot.
Introduction
In powerdot, to create a new slide the corresponding text and images must be enclosed in a special environment. See the example below.
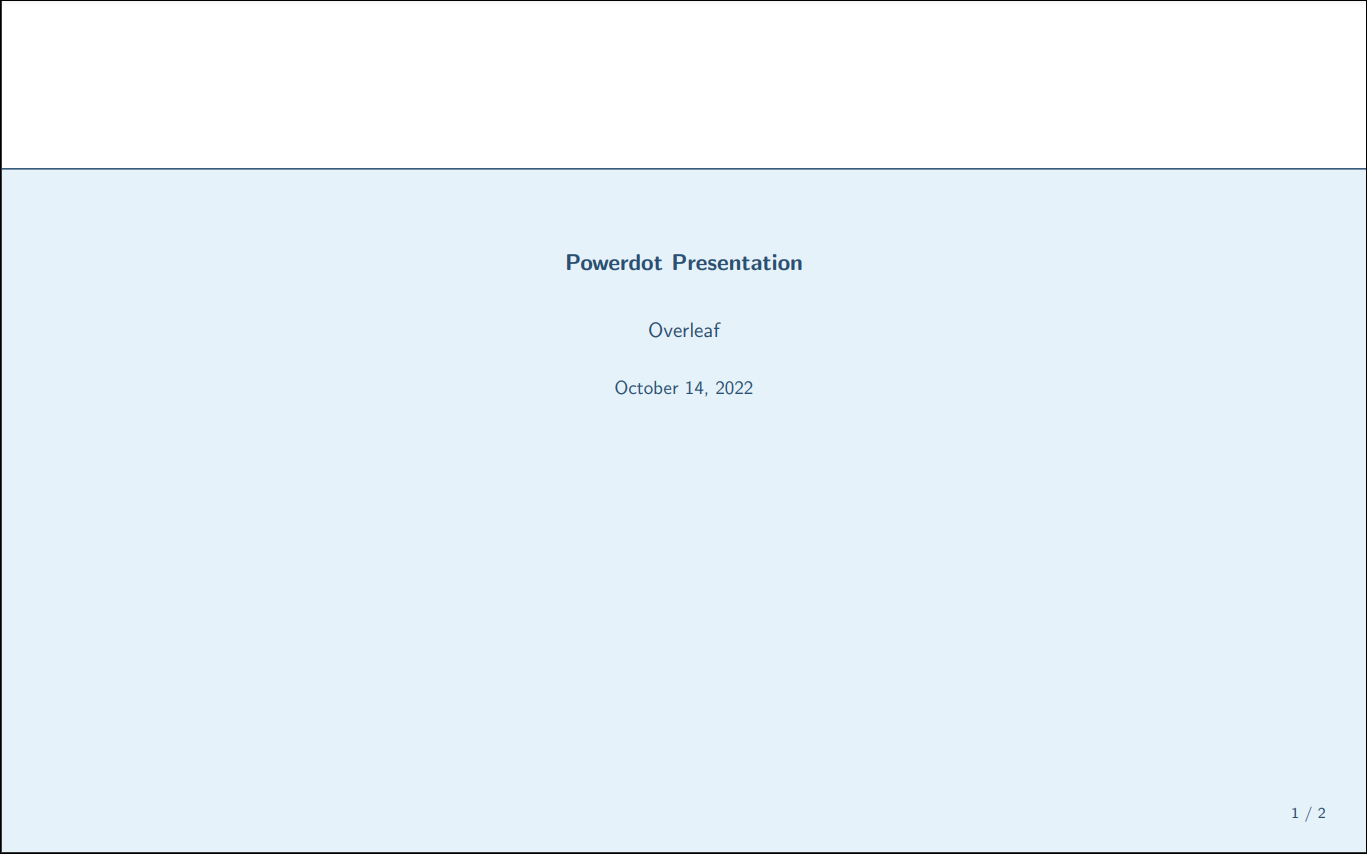
\documentclass[paper=smartboard]{powerdot}
\title{Powerdot Presentation}
\author{Overleaf}
\date{\today}
\begin{document}
\maketitle
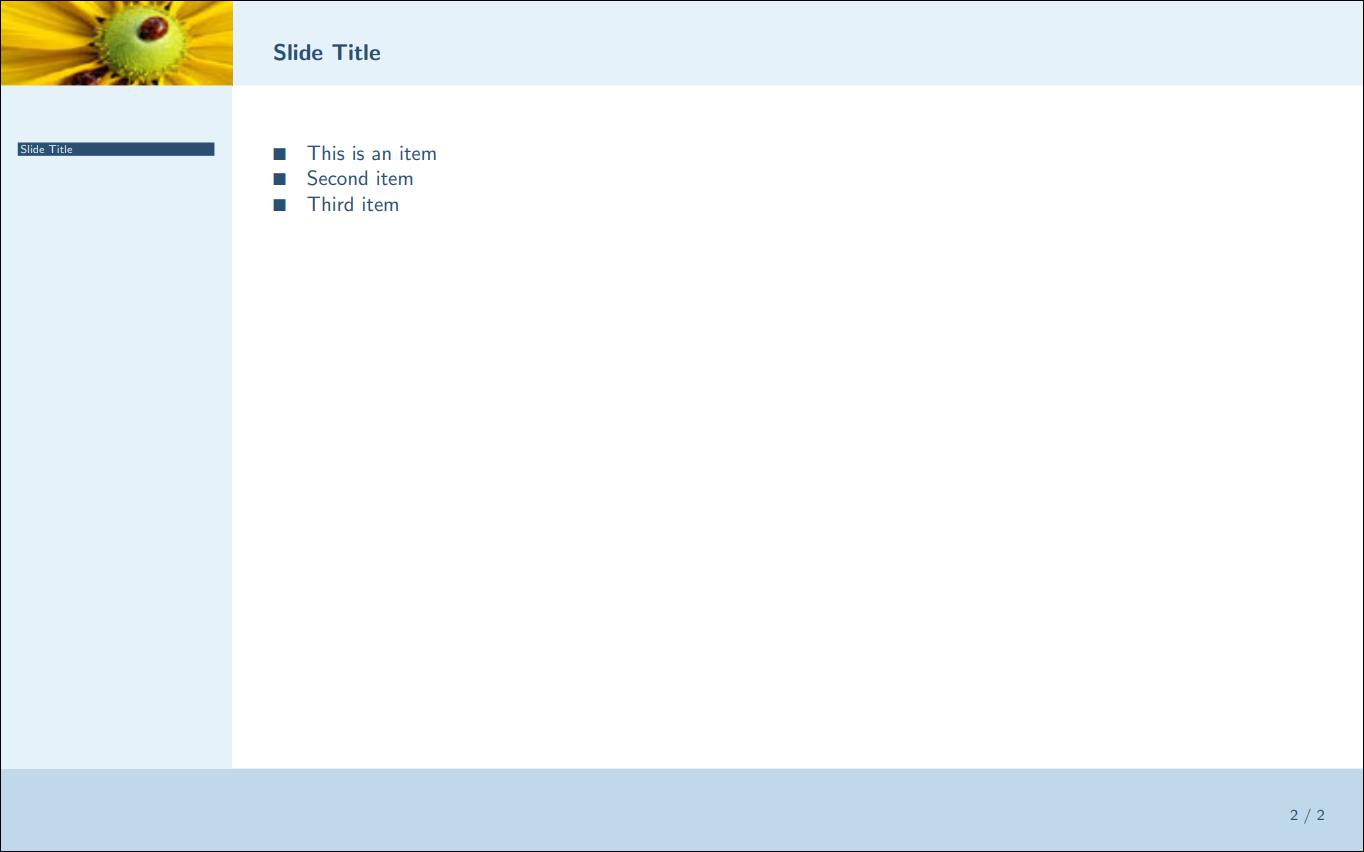
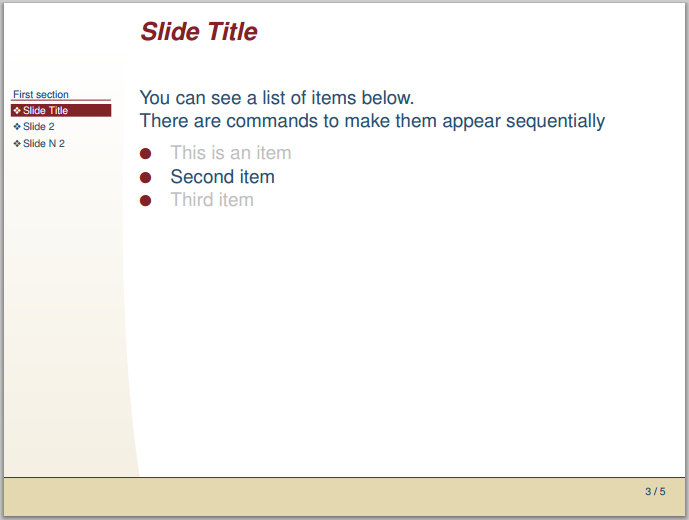
\begin{slide}{Slide Title}
\begin{itemize}
\item This is an item
\item Second item
\item Third item
\end{itemize}
\end{slide}
\end{document}
Open this basic powerdot example in Overleaf
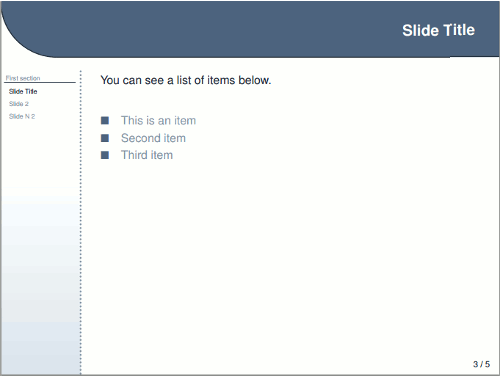
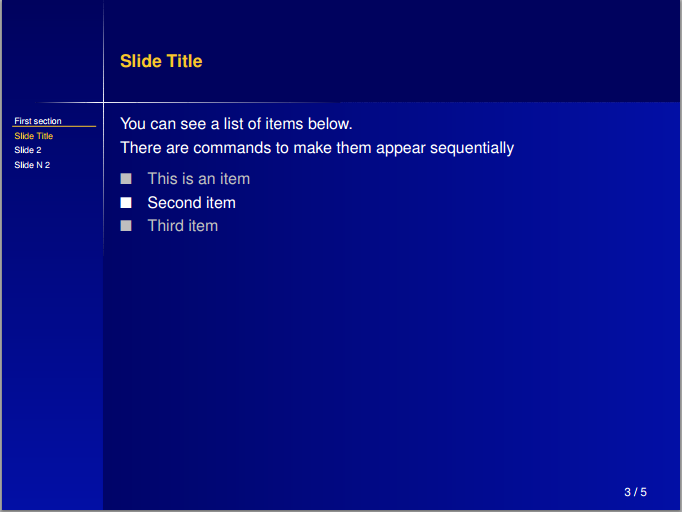
Opening the above example will create a project which produces these two slides:
The first command in a powerdot document must be to load the powerdot class; for example:
\documentclass[paper=smartboard]{powerdot}
where [paper=smartboard] sets the size of the presentation slides. See the powerdot documentation for additional paper option values. After that, the usual data (author, title and date) can be included in the preamble. Within the document, the commands \maketitle and \section will create a new slide to display the corresponding information.
In between the tags \begin{slide} and \end{slide} the contents of a new slide must be typed. A title for the slide can be set as an optional parameter inside braces right after the opening command. In the example, the title is "Slide Title".
Note: To compile a powerdot document (e.g., on Overleaf) you need use the latex compiler instead of pdflatex or xelatex.
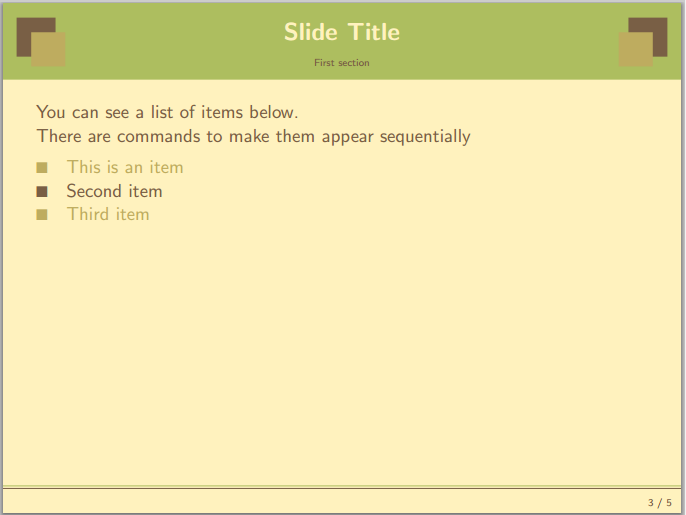
Basic usage
Some extra parameters can be added to the class declaration command.
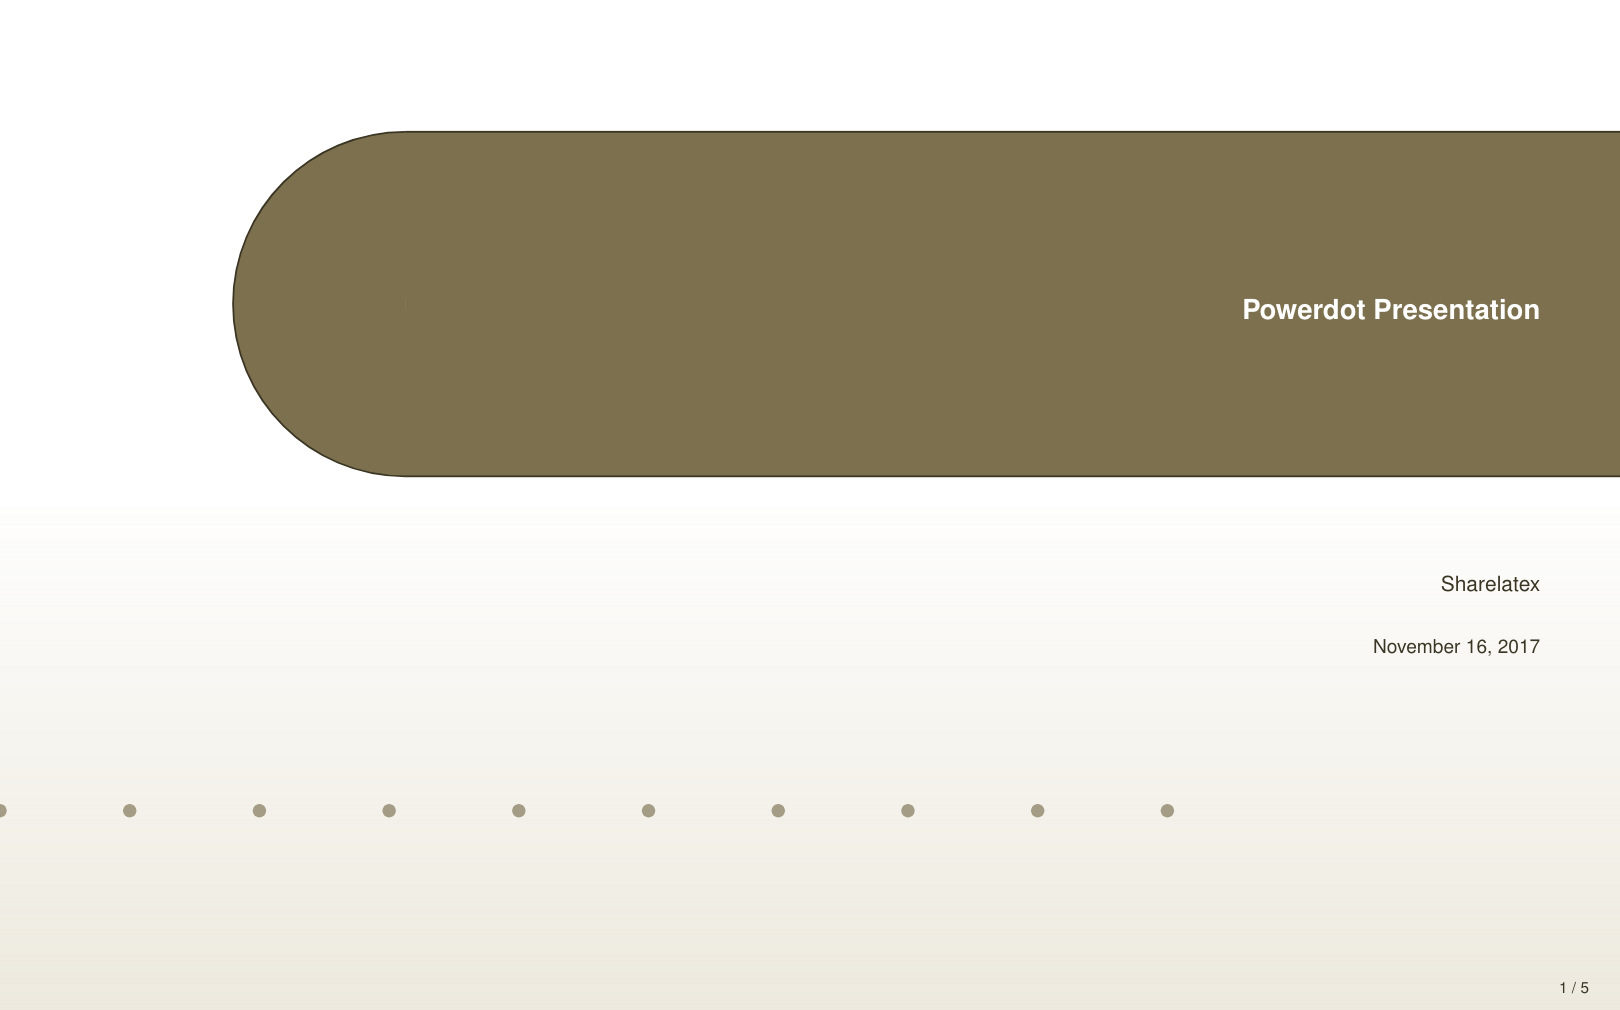
\documentclass[
mode=print,
paper=smartboard,
orient=landscape
]{powerdot}
% Presentation metadata
\title{Powerdot Presentation}
\author{Overleaf}
\date{\today}
\begin{document}
\maketitle
% section: title takes up full slide
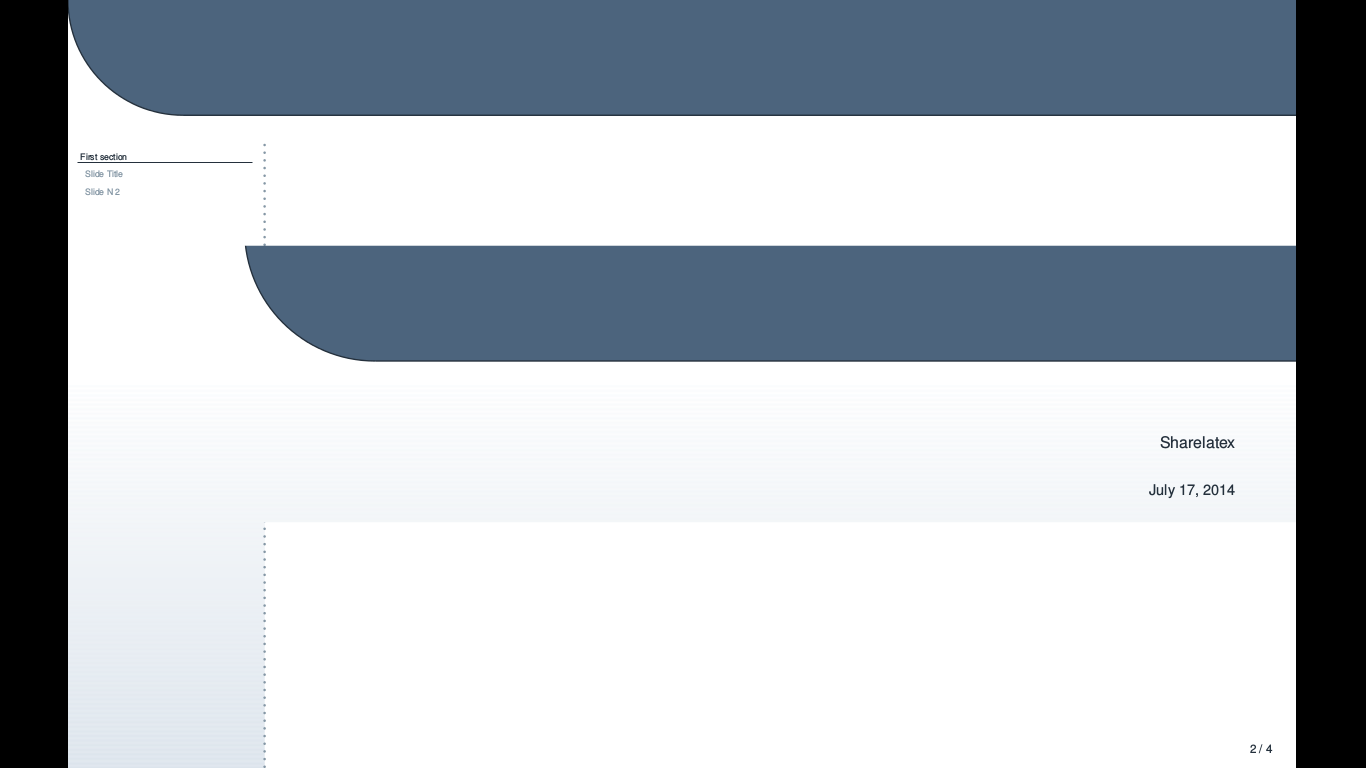
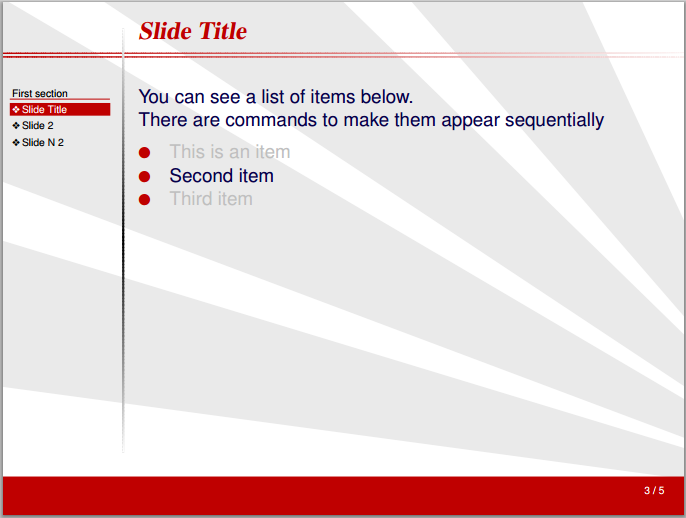
\section{First section}
\begin{slide}{Slide Title}
\begin{itemize}
\item This is an item
\item Second item
\item Third item
\end{itemize}
\end{slide}
\begin{slide}{Slide N 2}
This is the content of slide 2.
Math $x=2\pi r$.
\end{slide}
\end{document}
Open this powerdot document in Overleaf
In this example several options are set inside brackets in the command
\documentclass[...]{powerdot}:
mode=print- This mode can be used to print the slides, it deletes the overlays and transition effects. Other modes are
present, which is the default mode for presentations; andhandoutwhich produces a black and white overview of the slides, printing two slides per page.
paper=smartboard- This is the paper size to use in a presentation on a smartboard or a wide screen. Other paper sizes are
screen(4/3 ratio),a4paperandletterpaper.
orient=landscape- Document orientation. Possible values are
landscapeandportrait
Note: If want to explore a more complete example, open the following project in Overleaf:
Open a larger powerdot example in Overleaf
Adding notes
In powerdot it's possible to add notes to the slides as an aid to the presenter.
\documentclass[
    display=notes,
    mode=print,
    paper=smartboard,
    orient=landscape
]{powerdot}

% Presentation metadata
\title{Powerdot Presentation}
\author{Overleaf}
\date{\today}

\begin{document}
\maketitle

% section: title takes up full slide
\section{First section}

\begin{slide}{Slide Title}
    \begin{itemize}
    \item This is an item
    \item Second item
    \item Third item
    \end{itemize}
\end{slide}
\begin{note}{About items}
    Mention that lists of items can be customised.
\end{note}
\end{document}
Open this powerdot example in Overleaf
To create a note the environment note must be used right below the corresponding slide. The syntax is the same as in the slide environment, you can also set a title for the note.
To render only the notes the option display=notes is passed to the document class command. Other values for this parameter are : slidesnotes that print the notes and the slides, and slides that prints only the slides.
Note: If want to explore a more complete example, open the following project in Overleaf:
Open a larger powerdot example in Overleaf
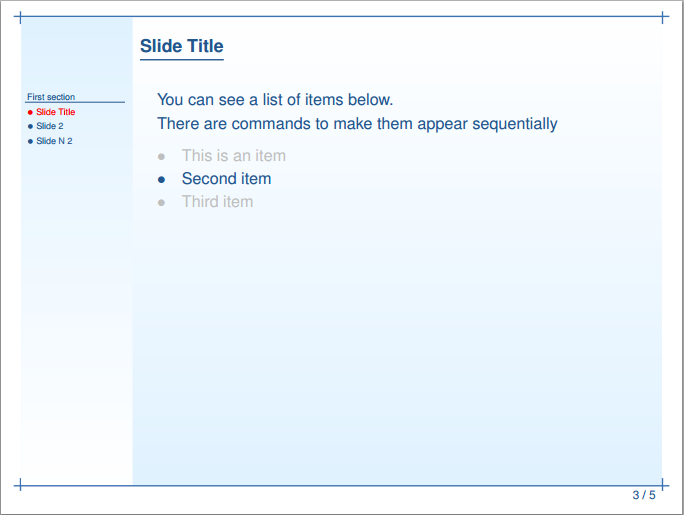
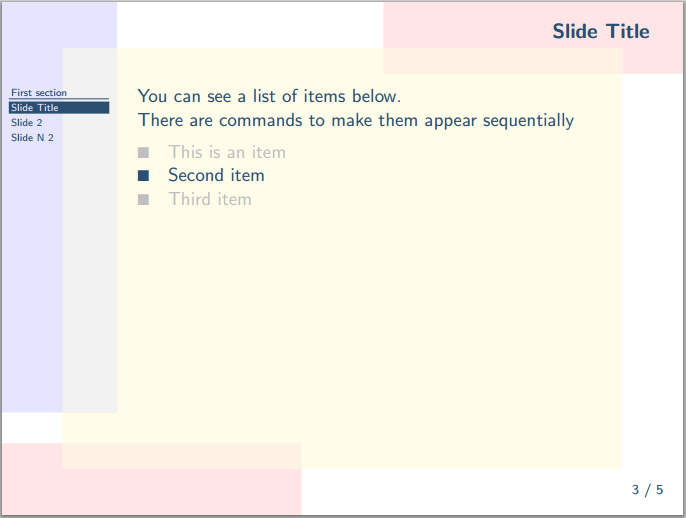
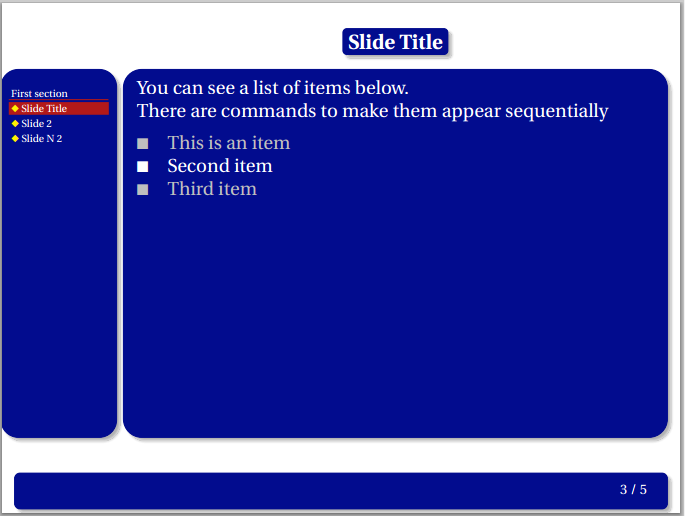
Styles and palettes
The appearance of a powerdot presentation can be changed by means of styles and palettes. The styles change the overall look of the presentation while the palettes determine the set of colours used in a style.
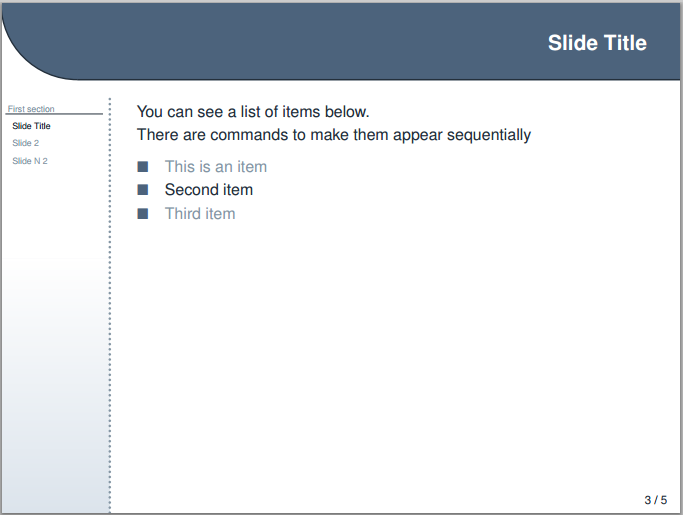
\documentclass[
    style=sailor,
    paper=smartboard
]{powerdot}

\pdsetup{palette=Chocolate}

...
Some extra option can be passed to the \documentclass in the previous example that change the appearance of the slides:
style=sailor- Set the sailor style.
Other options such as palette can be included in \pdsetup{...}.
\pdsetup{palette=Chocolate}- Set the chocolate colour palette.
See the reference guide for a list of available styles and palettes.
Open an example of the powerdot package in Overleaf
Transitions
Transition effects can be added to a powerdot presentation to make it more visually attractive.
\documentclass[
    style=sailor,
    display=slides,
    paper=smartboard,
    orient=landscape,
]{powerdot}

\pdsetup{trans=Split}
...
In this example, a transition effect called Split is added to the presentation by the command
\pdsetup{trans=Split}
It shows the new slide by splitting it and animating each half to appear on the screen. These effects depend on the PDF viewer and are supported by the most popular options, in full screen mode.
Other possible transition effects are
BlindsBoxWipeDissolveGlitterReplaceFlyPushCoverUncoverFade
Open an example of the powerdot package in Overleaf
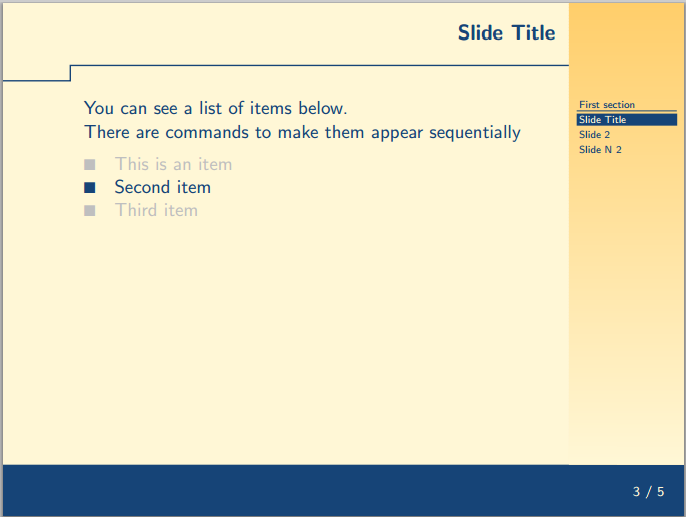
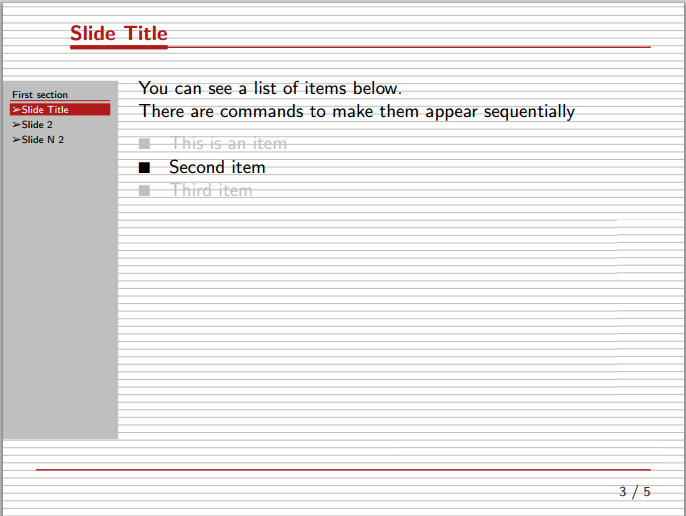
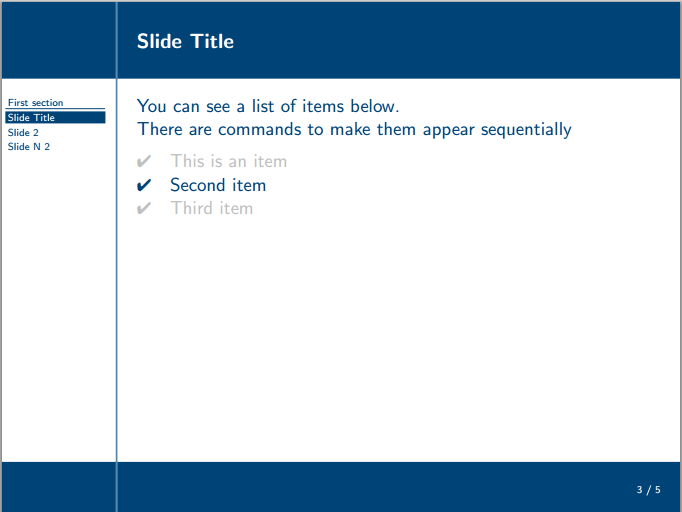
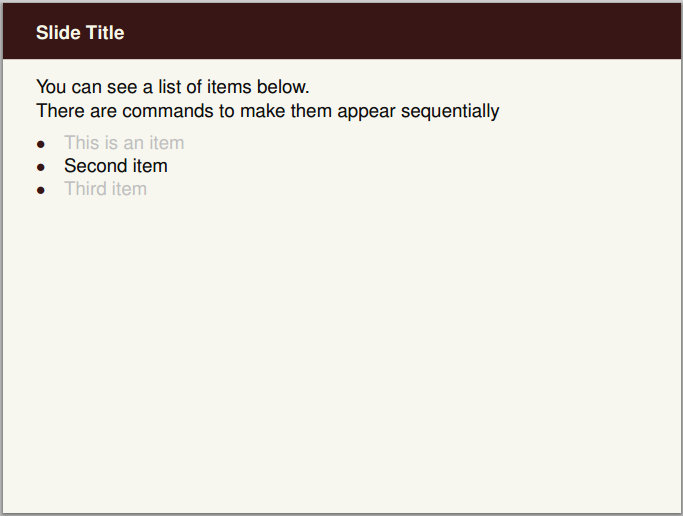
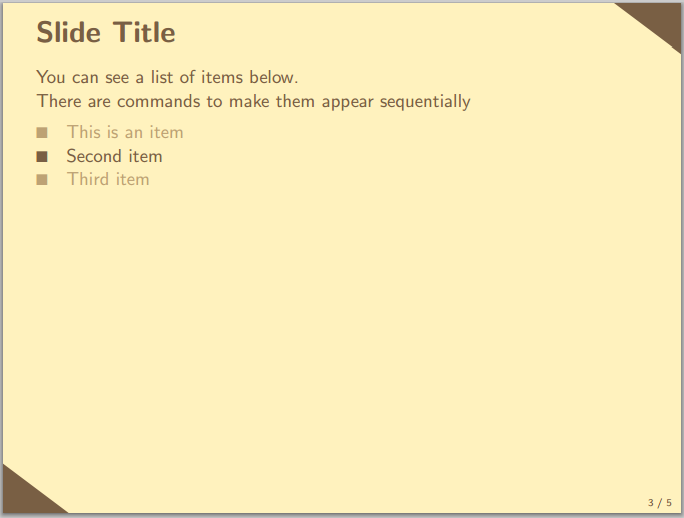
Overlays
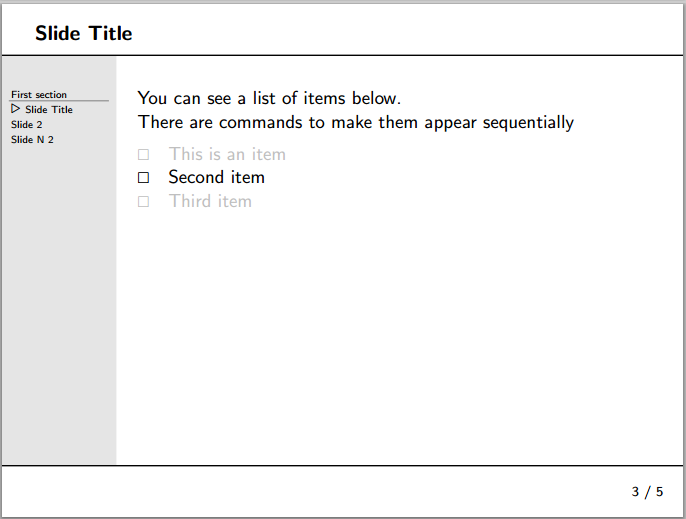
Special commands can be used to unveil only some elements of the slide instead of the entire content. There are two ways to achieve this.
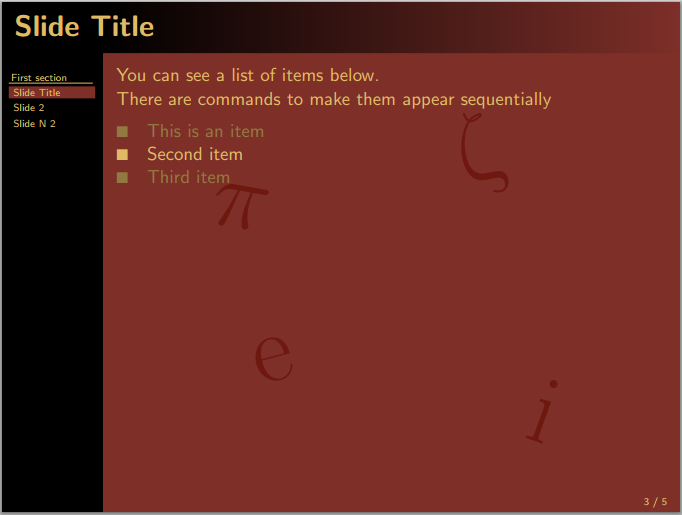
\begin{slide}{Slide Title}
You can see a list of items below. \pause \\
There are commands to make them appear sequentially
 \begin{itemize}[type=1]
   \item<2> This is an item
   \item<3> Second item
   \item<4> Third item
 \end{itemize}
\end{slide}
|
|
The two overlay-related commands are:
\pausewhich will show the text after the command till the next overlay,\begin{itemize}[type=1]the extra parameter enables overlays initemizeandenumerateenvironments. It's possible to use the\pausecommand here or, as in the example, pass an extra parameter to eachitem. This extra parameter determines which overlies will display the current item. For instance, the first item appears only on the second overly.
Examples of other possible syntax for the extra parameters in the \item command are:
\item<-2>. This item will show up in all overlies except the second one.\item<2->. This item will appear in all overlies from the second.\item<2-5>. This item is printed from overly two to overly five.
Open an example of the powerdot package in Overleaf
Verbatim on slides
Some content in a powerdot presentation requires special commands. For instance, to add verbatim text to a slide an additional parameter must be added to the slide environment.
\documentclass[
    style=sailor,
    display=slides,
    paper=smartboard,
    orient=landscape,
]{powerdot}

\usepackage{listings}
\lstnewenvironment{code}{%
\lstset{frame=single,escapeinside=`',
  backgroundcolor=\color{yellow!20},
  basicstyle=\footnotesize \ttfamily}
}{}

\begin{document}
\begin{slide}[method=direct]{Slide 2}
 Steps 1 and 2:
 \begin{code}
    compute a;

    compute b;
 \end{code}
\end{slide}
\end{document}
Open this powerdot document in Overleaf
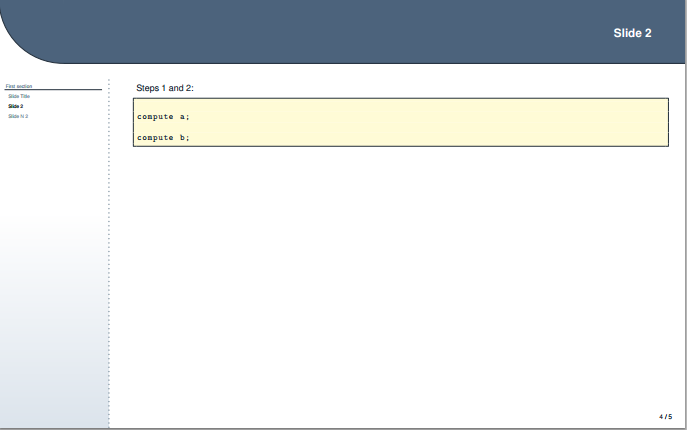
The parameter inside brackets, method=direct is mandatory to add verbatim text to a slide, but don't allow overlays. Another option is to use method=file that allows verbatim text and overlays, but could be slow if many slides use this method.
Open an example of the powerdot package in Overleaf
Reference guide
Below all official powerdot styles and all available palettes for the corresponding styles are listed.
| main page | inner page | palettes | |
|---|---|---|---|
| simple | 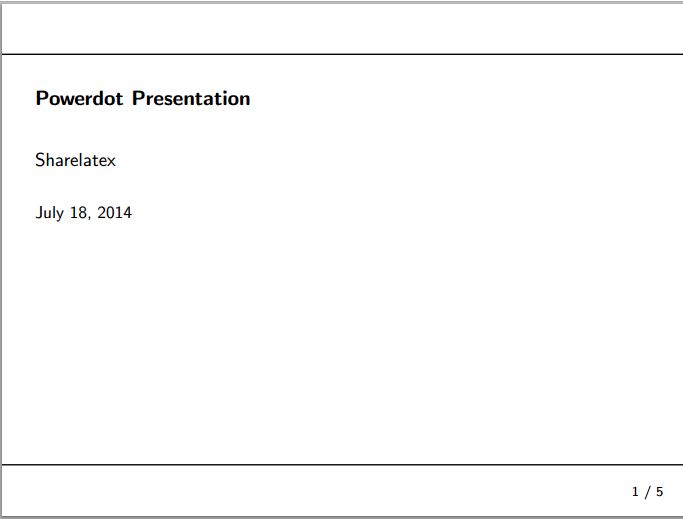
|
|
|
| tycja | 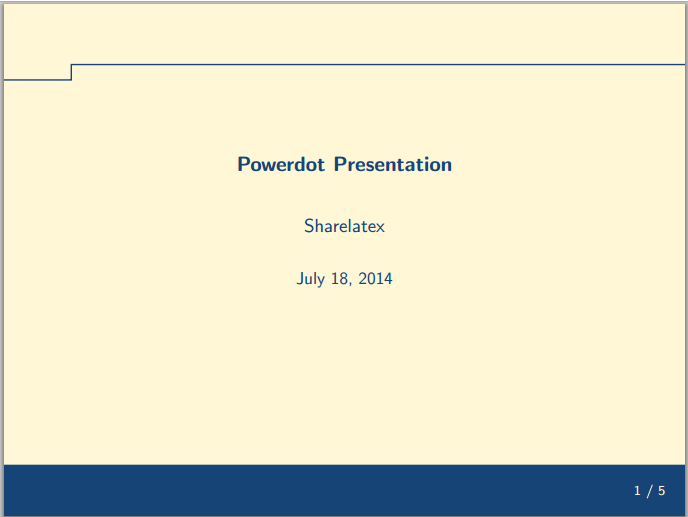
|
|
|
| ikeda | 
|

|
|
| fyma | 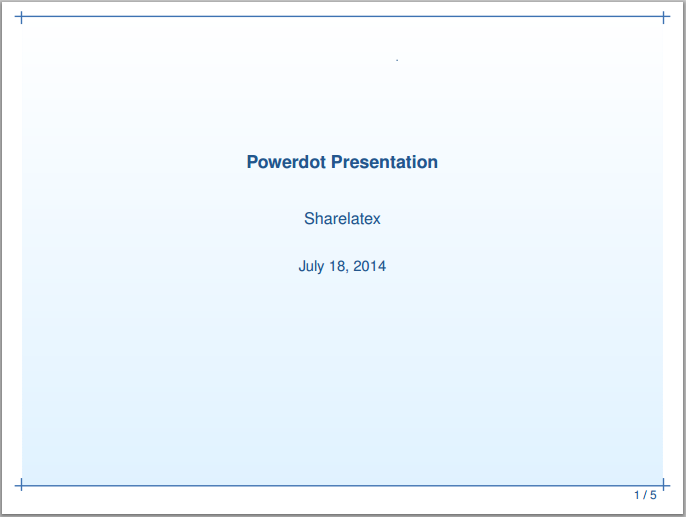
|
|
blue, green, gray, brown, orange |
| ciment | 
|
|
|
| elcolors | 
|
|
|
| aggie | 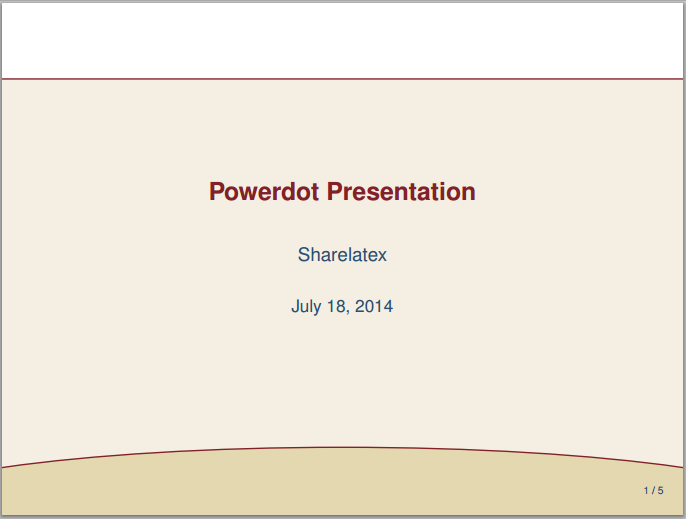
|
|
|
| husky | 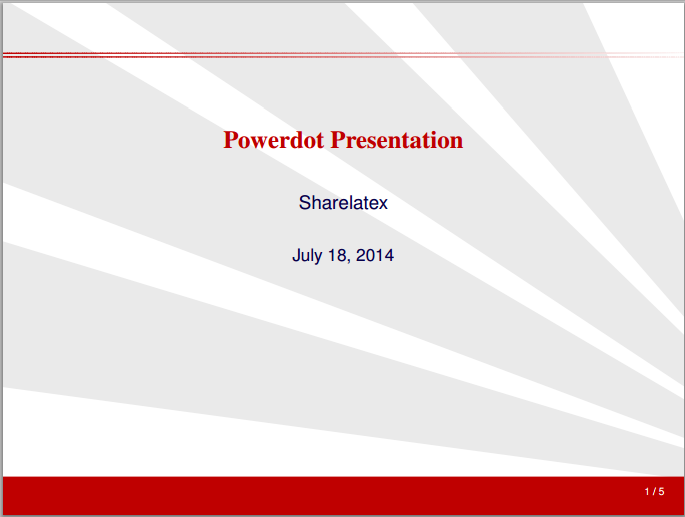
|
|
|
| sailor | 
|
|
River, Wine, Chocolate, Cocktail |
| upen | 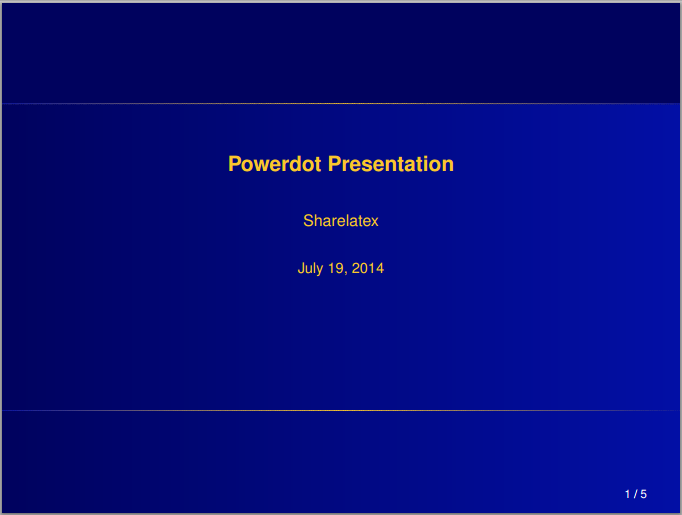
|
|
|
| bframe | 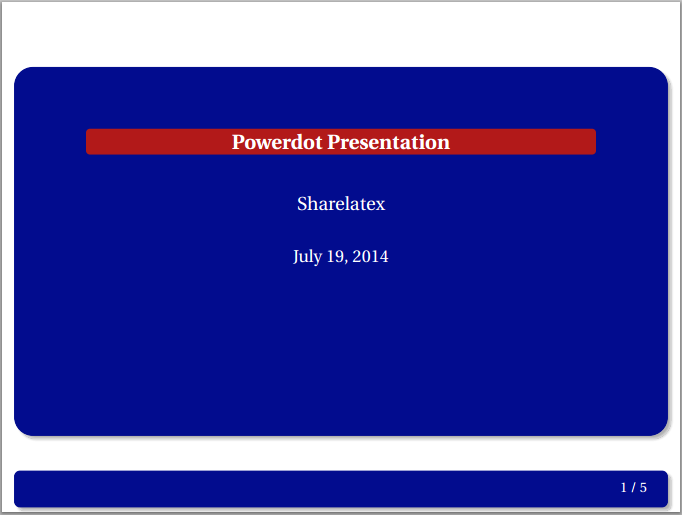
|
|
|
| horatio | 
|
|
|
| paintings | 
|
|
Syndics, Skater, GoldenGate, Moitessier, PearlEarring,
Lamentation, HolyWood, Europa, MayThird, Charon |
| klope | 
|
|
Spring, PastelFlower, BlueWater, BlackWhite |
| jefka | 
|
|
brown, seagreen, blue, white |
| pazik | 
|
|
red, brown |
Further reading
For more information see the