Flowchart in Tikz/PGF
Author:
Dilawar Singh
Last Updated:
7 лет назад
License:
Creative Commons CC BY 4.0
Аннотация:
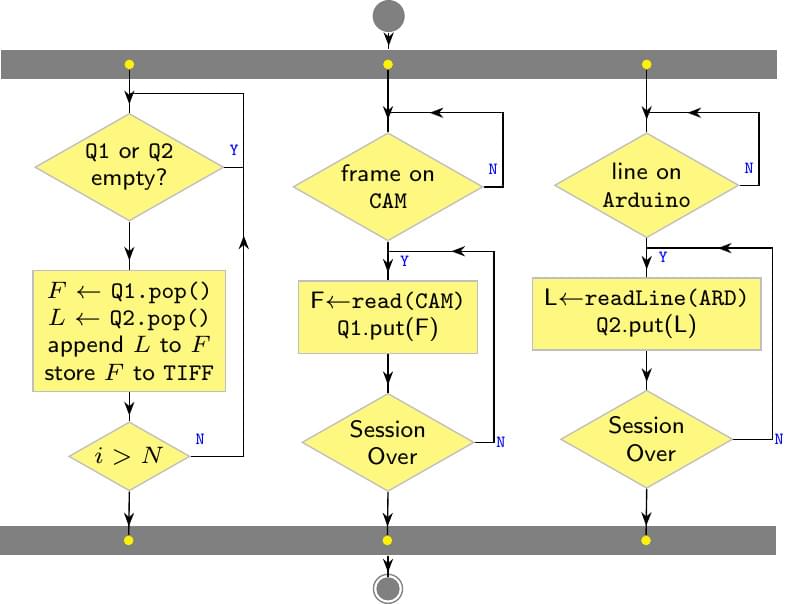
An example flowchart using Tikz/PGF.
\begin
Discover why over 25 million people worldwide trust Overleaf with their work.
An example flowchart using Tikz/PGF.
\begin
Discover why over 25 million people worldwide trust Overleaf with their work.
%\RequirePackage{luatex85,shellesc}
\documentclass[crop,tikz]{standalone}
\usetikzlibrary{shapes, positioning, arrows.meta}
\usetikzlibrary{decorations, decorations.markings}
\renewcommand{\familydefault}{\sfdefault}

\begin{document}

% here are styles.
\newcommand\TT[1]{\texttt{#1}}
\newcommand\YesNo[1]{\tiny\textcolor{blue}{\texttt{#1}}}
\tikzset{
    flowchart/.style={fill=yellow!50, draw=gray!50, font=\scriptsize},
    process/.style={rectangle, align=center, flowchart},
    decision/.style={diamond, align=center, aspect=1.75, inner sep=1pt, flowchart},
    start/.style={circle, draw, fill, align=center},
    stop/.style={circle, draw, fill, align=center},
    connect/.style={
        postaction={decoration={markings
            , mark=at position 0.8 with {\arrow{Stealth[length=4pt]}}}
            , decorate
        },
    }, every node/.style={font=\tiny}
}

\newcommand\START[3]{%name, pos, size
    \node[circle, fill=gray, minimum size=#3 mm] (#1) at (#2) {};
}

\newcommand\STOP[3]{%name, pos, size
    \node[circle, draw=gray, minimum size=#3 mm, inner sep=0pt] (#1) at (#2) {};
    \pgfmathsetmacro\InnerSize{#3*0.8}
    \node[circle, fill=gray, inner sep=0pt, minimum size=\InnerSize mm] (#1) at (#2) {};
}

\newcommand\ProcessNode[3]{%name, pos, text
    \node[draw=gray!10, fill=yellow!20, rounded corners] (#1)
    at (#2) {\scriptsize #3};
}

\newcommand\DecisionNode[3]{%name, pos, text
    \node[decision, anchor=north] (#1) at (#2) {#3};
    \foreach \DIRA/\DIRB in {left/west,right/east,above/north,below/south}
        \coordinate[\DIRA=2mm of #1.\DIRB] (#1_\DIRB);
}

\newcommand\Fork[4]{%name, position, width (mm), numforks
    \pgfmathsetmacro\ForkDistance{#3/#4}
    \node[rectangle, fill=gray
        , minimum width=#3 mm, minimum height=3mm
        ] (#1) at (#2) {};

    \foreach \i in {1,...,#4}
    {
        \pgfmathsetmacro\SS{(\i-1)*\ForkDistance+0.5*\ForkDistance}
        \node[circle, fill=yellow, inner sep=1pt] (#1_\i)
           at ([xshift=\SS mm]#1.west) {};
    }
}

% flowchart starts.
\begin{tikzpicture}[node distance=5mm]


    \edef\YSHIFT{5}
    \START{start}{0,0}{3}

    % The fork.
    \Fork{fork}{[yshift=-5mm]start}{80}{3}
    \draw[connect] (start) -- (fork);

    %% Tread 1
    \DecisionNode{wait}{[yshift=-5mm]fork_1}{\TT{Q1} or \TT{Q2} \\ empty?};
    \draw[connect] (fork_1.south) -- (wait);
    \draw[] (wait.east) -- (wait_east)
        node[above, midway] {\YesNo{Y}} |- (wait_north);

    % NO
    \node[below=of wait, process] (read) {
        $F \leftarrow$ \TT{Q1.pop()} \\
        $L \leftarrow$ \TT{Q2.pop()} \\
        append $L$ to $F$ \\
        store $F$ to {\tt TIFF}
    };

    \draw[connect] (wait) -- (read);

    \DecisionNode{over}{[yshift=-3mm]read.south}{$i>N$}
    \draw[connect] (read) -- (over);

    % Yes & No
    \draw[connect] (over.east) -- (over_east) node[above, midway] {\YesNo{N}} -| (wait_east);

    % FORK 2. Decision.
    \DecisionNode{readcam}{[yshift=-7mm]fork_2}{frame on\\{}\TT{CAM}};
    \draw[connect] (readcam.east) -- (readcam_east)
        node[above, midway] (yes) {\YesNo{N}} |- (readcam_north);
    \draw[connect] (fork_2) -- (readcam.north);

    \draw[connect,] (readcam.south) -- ([yshift=-2mm]readcam_south)
    node[right,midway] {\YesNo{Y}}
    node[process, anchor=north] (fread) {F$\leftarrow$\TT{read(CAM)} \\
        \TT{Q1}.put(F)
        };

    \DecisionNode{camover}{[yshift=-4 mm]fread.south}{Session\\{} Over};
    \draw[connect] (fread) -- (camover);

    % YES
    \draw[connect] (camover.east) -- (camover_east)
        node[right, midway] {\YesNo{N}} |- ([yshift=3mm]fread.north) ;

    % FORK 3. Arduino
    \DecisionNode{readard}{[yshift=-7mm]fork_3}{line on\\{}\TT{Arduino}};
    \draw[connect] (readard.east) -- (readard_east)
        node[above, midway] (yes) {\YesNo{N}} |- (readard_north);
    \draw[connect] (fork_3) -- (readard.north);

    \draw[connect,] (readard.south) -- ([yshift=-2mm]readard_south)
        node[right,midway] {\YesNo{Y}}
        node[process, anchor=north] (aread) {L$\leftarrow$\TT{readLine(ARD)} \\
        \TT{Q2}.put(L)
        };

    \DecisionNode{ardover}{[yshift=-4 mm]aread.south}{Session\\{} Over};
    \draw[connect] (aread) -- (ardover);

    \draw[connect] (ardover.east) -- (ardover_east) -- ++(2mm,0)
        node[right, midway] {\YesNo{N}} |- ([yshift=3mm]aread.north) ;

    \Fork{forkEnd}{[yshift=-5mm]camover.south}{80}{3}

    % End fork,
    \draw[connect] (over.south) -- (forkEnd_1);
    \draw[connect] (camover.south) -- (forkEnd_2);
    \draw[connect] (ardover.south) -- (forkEnd_3);

    \STOP{stop}{[yshift=-5mm]forkEnd}{3};
    \draw[connect] (forkEnd) -- (stop);

\end{tikzpicture}

\end{document}